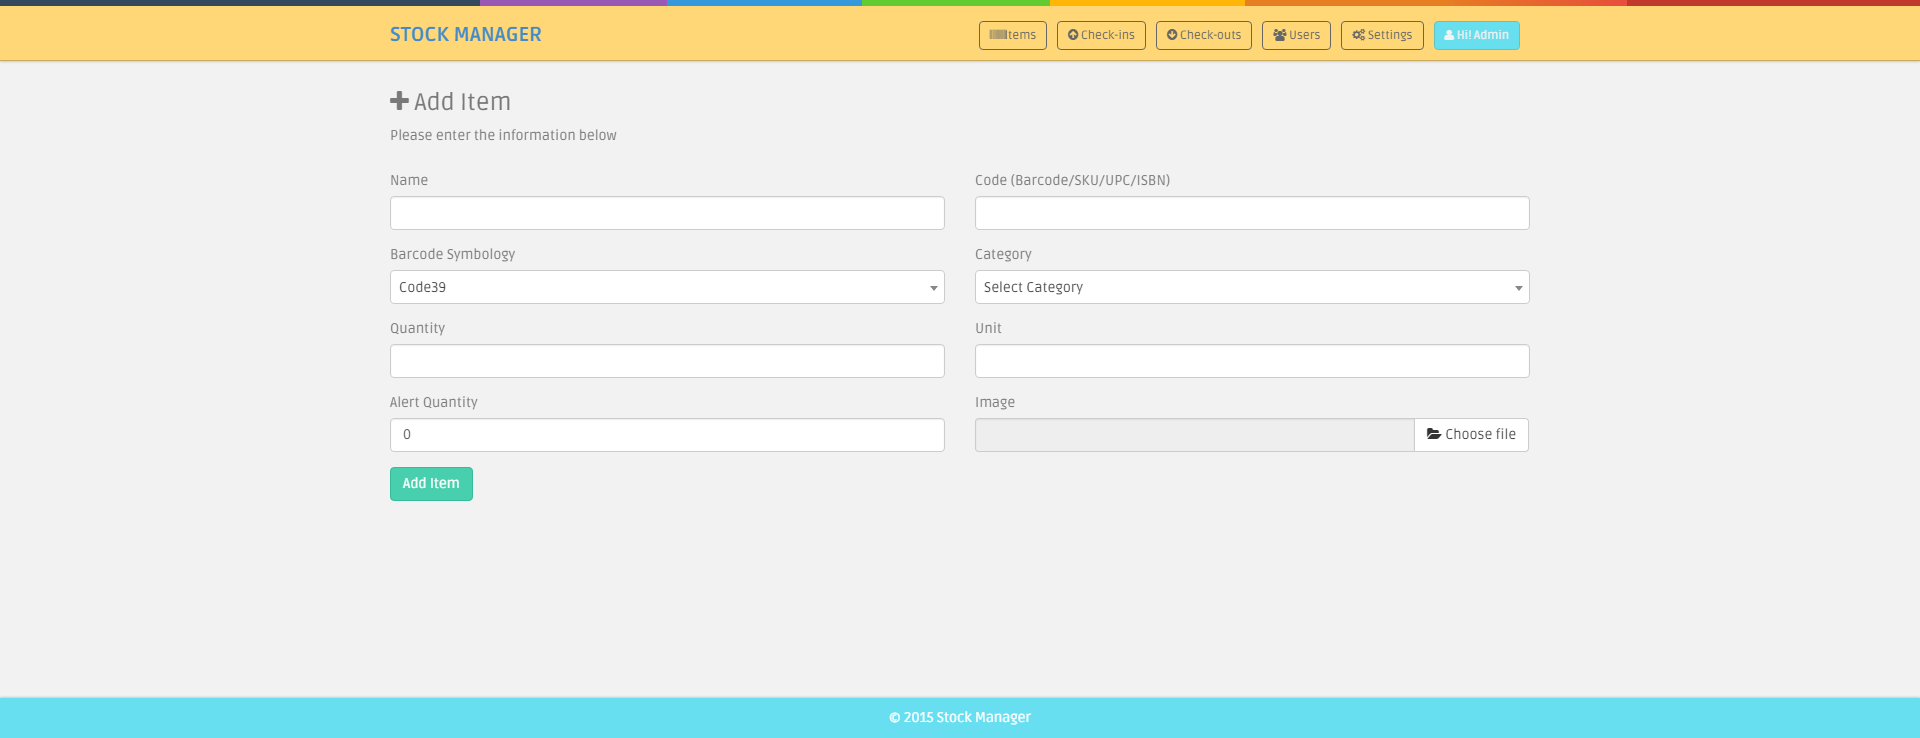
Simple Stock Manager
Simple Stock Manager is web based inventory management tool designed for small and medium businesses/organization who can't afford expense solutions to manage their inventory.
Documentation Version 1.0
Installation Instruction
Requirements: Apache 2.2+, Mysql 5.4+, PHP 5.4+
- Copy/Upload the folder and files to your web server using cPanel or FTP
- If you are installing in sub folder, please make sure there is no space in folder names
- Create mysql database, database user and grant all permission to user for this database.
- Open the
http://yourdomain.com/pathtoupload/install/index.php - Step 1: Pre-install system checklist - If there is any issue with checklist, you will need to fix it first to proceed to next step.
- Step2: Provide you Envato Username and Purchase Code to validate the purchase.
- Step 3: Provide the database host, database user, database password and database name to proceed to next step.
Please make sure you don't have $ sign in your password. - Step 4: Site Config: Please Fill in you Simple Stock Base URL and select your timezone.
You must check the site url as installer might guess it wrong- Base URL for public_html or www/htdocs folder will be
http://yourdomain.com/orhttp://localhost/ - Base URL for sub-domain will be
http://subdomain.yourdomain.com/ - Base URL for sub-folder will be
http://yourdomain.com/subfolder/orhttp://localhost/subfolder/ - Base URL must not have space and it should end with a trailing slash
- Base URL for public_html or www/htdocs folder will be
- If every thing goes smooth, You will be redirect to final page with login details.
- Remove the install folder.
- Login using default username and password and add new admin user before editing/delete the default user.
- Simple Stock Manager is ready to use.
Request Installation
We will provide the service to install the item for $10.00 To request the installation, please send $10 to saleem@tecdiary.com by Paypal or Skrill and email us your license file and hosting control panel details with reference of your payment to support@tecdiary.com
Update Instruction (from 2.0.x to latest)
Requirements: Apache 2.2+, Mysql 5.4+, PHP 5.4+
- Extract the downloaded file.
- Copy 2.0.x/app/config/migration.php, paste and replace the old file in yourinstallationdirectory/app/config/
- Copy 2.0.x/themes, paste and replace the old folder in yourinstallationdirectory/
- Copy
- 2.0.x/app/controllers
- 2.0.x/app/core
- 2.0.x/app/helpers
- 2.0.x/app/language
- 2.0.x/app/libraries
- 2.0.x/app/migrations
- 2.0.x/app/models
- There is no db change, so you are done.
Live Demo For Simple Stock Manager V2.0
Demo Link: http://ssm.tecdiary.my/
Login Details:
Role:               Username                 Password
Admin:              admin@tecdiary.com       12345678
Sales staff:        user@tecdiary.com        12345678
Credits
Thanks to all great people who are developing open source software.
- CodeIgniter - PHP-Framework under MIT License
- Ion_auth - A simple, lightweight authentication library by Ben Edmunds under the Apache License v2
- Bootstrap - Most popular HTML, CSS, and JS framework under MIT License
- jQuery - A fast, small, and feature-rich JavaScript library under MIT License
- Font Awesome - The iconic font and CSS toolkit under GPL License.
- DataTables - A plug-in for the jQuery under two licenses: GPL v2 license or a BSD (3-point) License
- Zend Framework 1 (barcode library) - under New BSD License
- jQuery Cookie - A simple, lightweight jQuery plugin to manage cookies under MIT License
- Commercial Licenses
- Highcharts
- FormValidator
- Redactor Text Editor
Thanks to all the friends for their suggestions, feedback and help.
Frequently Asked Questions
General
-
How to enable HTTPS support?
You can easily enable https by editing the 2 lines in config file (
app/config/config.php) as following:- Update base url from
http://yoursite.comtohttps://yoursite.com - Set
$config['cookie_secure']to TRUE
- Update base url from
-
Can I modify the item?
Yes, you can modify the script as per your needs and license.
We offer Regular License only that allows you to use the Item to create one single End Product for yourself or for one client (a “single application”). If you have more then once clients, you will need to purchase separate license for each client.
You can visit this link to licensing faqs page of Evnato marketplace.
-
Can I manage multiple stores?
No, you can only manage 1 store with single installation. If you have more that 1 stores and want to use for all, you will need to purchase separate license for each store.
-
Can I white label it to have my company name?
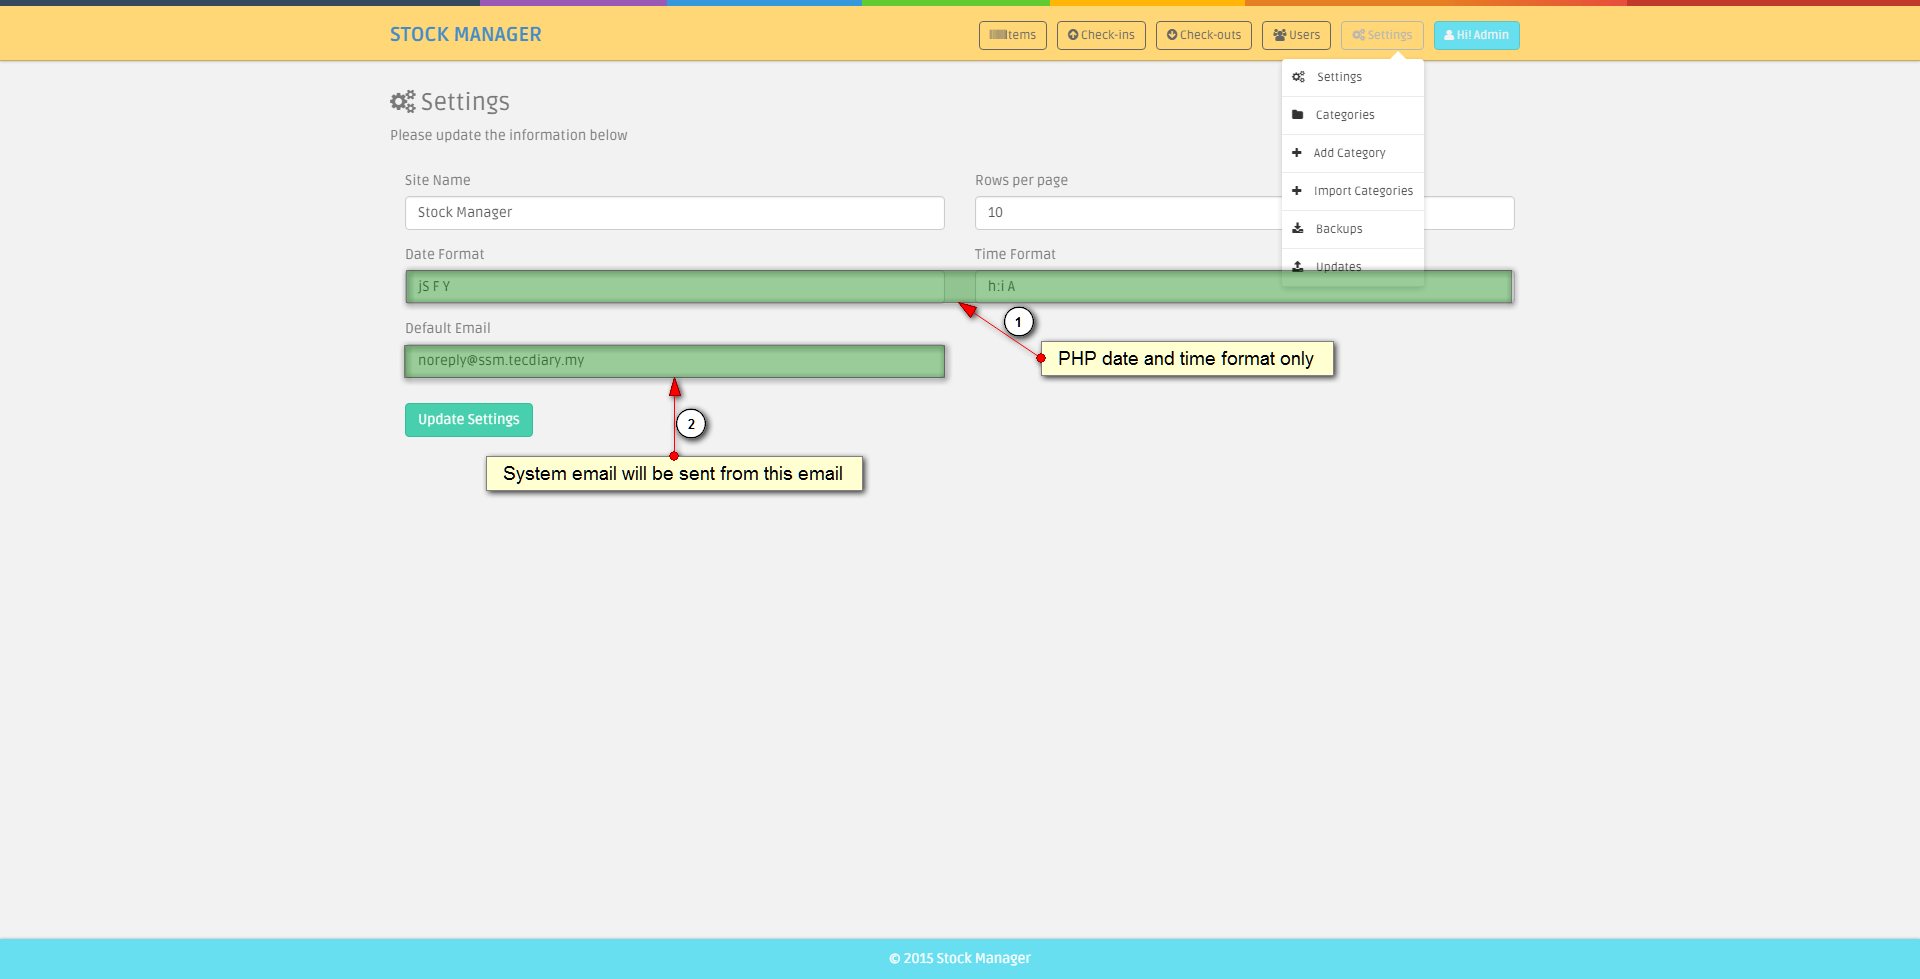
Yes, you can. Please update the settings with site name.
-
How can I translate into other language?
You can easily add new languages to Simple Stock Manager. Please click here to jump to guide.
-
Can I install this item on localhost with wamp/xampp/easyphp?
You can install this item on localhost with any web platform xampp, mamp, lamp, wamp or easyphp. Internet connectivity is required for installation to verify the purchase. Once installed, you can use it without Internet.
-
Does it supports barcode scanners?
Yes, you can use barcode scanners with this item.
-
Will I get the full source code?
Yes, you will get 100% source code including php, js, html and css.
-
Are you using a PHP Framework for this item?
Yes, CodeIgniter – PHP Framework created by EllisLab and is now a project of the British Columbia Institute of Technology.
-
How do Simple Stock Manager track inventory?
Once you have added the item, you can create check-ins to increase and check-outs to decresase the stock.
-
Why I can check-out even if I don't have quantity?
Once you add the product to order list, the item color will be red if you don't have quantity for the product. But Simple Stock Manager allows you check-out items even if you don't have quantity and will set the quantity to negative.
-
Where are the header and footer view files?
The header and footer files are in
themes/default/views/ -
Why barcode images are not showing on print barcode and label page?
Please check that ini_set function is not disabled. The ini_set function should be enabled to use barcode feature.
Account and Users
-
What type of account are available?
These are the account type
- Admin - will have all rigths, and can erform any action.
- Staff - will have view and add rights only won't be able to edit any record along with users and settings.
-
I am Admin and how do I reset the password for sales staff user?
Please visit list user and edit the user to reset the password.
-
How do I delete account?
If you want to delete account for staff member, please visit list users sub menu under people main menu. All the account are listed on this page and you can delete any of them.
Error
-
Why am I getting CloudFlare Security or Blank error on verification while installing the item?
If you are not getting any error but blank red alert or CloudFlare Security error mean your request is no reaching to verification server. Please check that you server is not blocking the curl request and secondly there are chances that CloudFlare might be challenging your request due to various reasons. Please check with your host and request them to white list CloudFlare ips https://www.cloudflare.com/ips
Updating your Anti-Virus and Browser might help. You can check with your host too.
You can try different host and/or install it locally with any web platform easyphp/lamp/mamp/wamp/xampp.
-
Why I am getting "no input specified" error after install/update?
Please add the ? 'question sign' after index.php in the .htaccess file, you line will be look as
RewriteRule ^(.*)$ /index.php?$1 [L]code.For more information, please visit this guide page.
-
Why the installer/update tool is locked?
After successfully installation/update, the installer/update tool will be automatically locked.
If you having any issue after installation or like to perform the installation again, please upload the files again.
-
Why am I getting 404/500 error page after installation?
Please
- make sure that your apache mod_rewite is enabled
- check that .htaccess file is successfully uploaded and exists in the main directory of installation
- base_url in app/config/config.php
- check your database settings in app/config/database.php
- check your folders/files permissions (folders should have 755 and files should have 644 permissions).
If you are using godaddy, please visit the codeigniter official guide here. You might need to check and modify you .htaccess files too.
You can always check your error log to get more information about the issue.
-
Why time is different from my computer time?
Stock Manager will use your server local time, please check your timezone in index.php and make sure that you have set the correct time zone. You can find your timezone at http://php.net/manual/en/timezones.php
-
Why I can't send emails?
Stock Manager uses php mail function to send emails, if you need any other protocol, please edit app/libraries/tec.php and look for
send_email() -
Why I can't login and getting time out error?
Timeout feature has been enabled. The user will be timed out after 3 unsuccessful login attempts for 10 minutes. You can disabled this in app/config/ion_auth.php by changing the
$config['track_login_attempts'] = TRUE;to$config['track_login_attempts'] = FALSE;or you can increase the attempts from 3 to any number you like. -
Why I can't upload any file?
This could be due to permission on the /uploads. Please set 777 permission to /uploads and all other folder in the /uploads/
-
Why I getting db error and can't login?
Please check your db configuration in app/config/database.php
-
Can I use this on Windows server with IIS?
Yes but we haven't tested this and don't provide any support for setup.
If URL Rewrite module is not installed, please install it from here http://www.iis.net/downloads/microsoft/url-rewrite. Please check the complete web.config file. Place this in the main installation folder where the index.php is placed.
<?xml version="1.0" encoding="UTF-8"?> <configuration> <system.webServer> <rewrite> <rules> <rule name="Imported Rule 1" stopProcessing="true"> <match url="^(.*)$" ignoreCase="false" /> <conditions logicalGrouping="MatchAll"> <add input="{REQUEST_FILENAME}" matchType="IsDirectory" negate="true" /> <add input="{REQUEST_FILENAME}" matchType="IsFile" negate="true" /> </conditions> <action type="Rewrite" url="index.php?url={R:1}" appendQueryString="true" /> </rule> </rules> </rewrite> </system.webServer> </configuration> -
Can I use this with NGINX?
Yes but we haven't tested this and don't provide any support for setup.
You can follow the guide http://wiki.nginx.org/Codeigniter. Your nginx.conf file will look like this.
server { server_name domain.tld; root /var/www/codeignitor; index index.html index.php; # set expiration of assets to MAX for caching location ~* \.(ico|css|js|gif|jpe?g|png)(\?[0-9]+)?$ { expires max; log_not_found off; } location / { # Check if a file or directory index file exists, else route it to index.php. try_files $uri $uri/ /index.php; } location ~* \.php$ { fastcgi_pass 127.0.0.1:9000; include fastcgi.conf; } location ~ /files { deny all; return 404; } } -
Why some products are missing from order when I add 100+ products?
There is no restriction in Simple Stock Manager on the number of order items. If you are having such issue, please check your php configuration file (php.ini) for
max_input_varsand set it to higher number i.e, 10000. -
Why Wordpress showing 404 page when I access the Simple Stock Manager?
You can exclude sub-directory from RewriteRule of wordpress by adding the line below to your .htaccess file in main directory of wordpress.
RewriteCond %{REQUEST_URI} !^/(mydir|mydir/.*)$
User Guide


Adding Language
Guide to add new language.
- Please create new folder in app/language/ and name it
yourlanguagename - Folder name should be without space and all lower letters.
- Copy all the files from app/language/english/ and paste then to app/language/
yourlanguagename/ - Now you can translate these all file to your language
- Download flag image (format: png, width: 16px, height: 11px) and paste it in themes/default/assets/img/
- You can add new key to language array. (See Code Section)
Please replace the yourlanguagename with your language For example, spanish, french, chinese etc
To add select option in setting's language
Please open themes/default/views/settings/index.php and search for ( $available_lang = ) You can replace the default with your theme if you are using different theme. You can add new array key for your language as following:
$available_lang = array(
       'english' => 'English',
        'yourlanguagename' => 'Your Language Name',
        );
yourlanguagename must be same folder name that you created in app/language/
If you are getting the error "Unable to load the requested language file: language/yourlanguagename/form_validation_lang.php or calendar_lang.php" Then you will need to add your language in lib/language/ as you did above for app/language/ and translate the system language files to your language.
Add/Remove column to table
Here are the steps to follow
To add a column you will need to
- Modify the select statement and select the desired column, in the controller.
- Add new element to datatables columns (should be in sequence) in the relative view file.
- Lastly add the th tag with column heading to table head (should be in sequence).
To remove a column you will need to
- Modify the select statement and remove the desired column, in the controller.
- Remove the element form columns of datatables in the relative view file.
- Lastly Remove the th tag with column heading to table head.
Sorting Tables
We have used datatables library for all listing tables. If you need to change any table sorting column, you will need to modify the view file.
The first column of the table will start from index 0 and then increase 1 with each columns. Let say you want to sort the table with 4th column then you will need to use index 3 as "aaSorting": [[3, "asc"]],
You can change the sorting for any table by modifying the files as described here.
For example, if you need to change the sorting for customers, you will need to edit the /theme/default/customers/index.php and search
"aaSorting": [[0, "asc"]],This is being sorted for first table column, If you want to sort it by id (2nd table column) then you will need to change as
"aaSorting": [[1, "asc"]],You even can sort the table with multiple columns as
"aaSorting": [[0, "asc"], [1, "asc"]],Barcodes and Labels
Barcode page is designed to be printed with desktop laser printers. Barcode sheet or barcode pages have 2 columns' table (2 product per row and medium barcode image with 60px height). For labels, each label will be printed on different page as most of you will print label with label printers. We don't provide any support for modify the design.
If you need to modify any of the barcode/label page to show/remove any information, you can do so by modify the products controller. The functions are mentioned that handle the pages.
Functions/Methods handling the barcodes and labels pages are
single_barcode()- Handles barcode printing for single productssingle_label()- Handles label printing for single productsprint_barcodes()- Handles barcode printing for multiple products based on categoryprint_lables()- Handles label printing for multiple products based on category
File: app/controllers/products.php
Request Installation
We will provide the service to install the item for $10.00 To request the installation, please send $10 to saleem@tecdiary.com by Paypal or Skrill and email us your license file and hosting control panel details with reference of your payment to support@tecdiary.com
Request Update
We will provide the service to update the item from v3 for $20 To request the update, please send $20 to saleem@tecdiary.com by Paypal or Skrill and email us your license file, v3 installation path/link with login details and hosting control panel details with reference of your payment to support@tecdiary.com
Custom Modifications
Yes, we do provide customization services to modify/enhance the item functionality to suit your needs. We charge $30 per hour. Please email to saleem@tecdiary.com to check availability, estimated cost and time.
Feature Request
Yes, we would love to listen your requests/feedback. Please prepare the details with examples before emailing to saleem@tecdiary.com